
“Are You A Professional Photographer?”
I am often asked “are you a “professional photographer“? When I answer “yes”, I am then asked, “What makes you a professional photographer”? I know photography is an art and it is hard to say what is right or what is wrong. Yet, as a photographer, there are things you should know and be aware of before using a “photographer” title. There is a lot of elements that go into photography. Light, white balance, shutter speed, aperture, ISO. Also, there are aspects of composition and the rule of thirds and such. A professional should know all these correlate to one another. They should know how to make sure you are optimizing your camera and settings. There are lots of photographers near me. Some are professional and others, unfortunately, are not. This isn’t to say they can’t become professional, it’s to say they have a lot to learn.
When you contact your photographer
When you contact a photographer or photography studio you expect them to know all the above. You found out about them, usually through a website. People believe they know exactly how to use a camera and light and produce great photos. You don’t expect to get lucky and only receive just one photograph you like out of over 100 taken. In a portrait studio, you will find studio lighting. It’s essential that the photographer knows how to use and place the lighting. Portrait photography doesn’t always have to be in a studio, though. Outdoor photography is as important. The great outdoors can be tricky with not being able to control the weather conditions or the lighting. Finding the right locations and shooting at the right time of day is essential. We love the hours at sunrise and sunset, for that beautiful light.
Let’s go over a few things here to help you understand some of the terms I used in my first paragraph:
Light
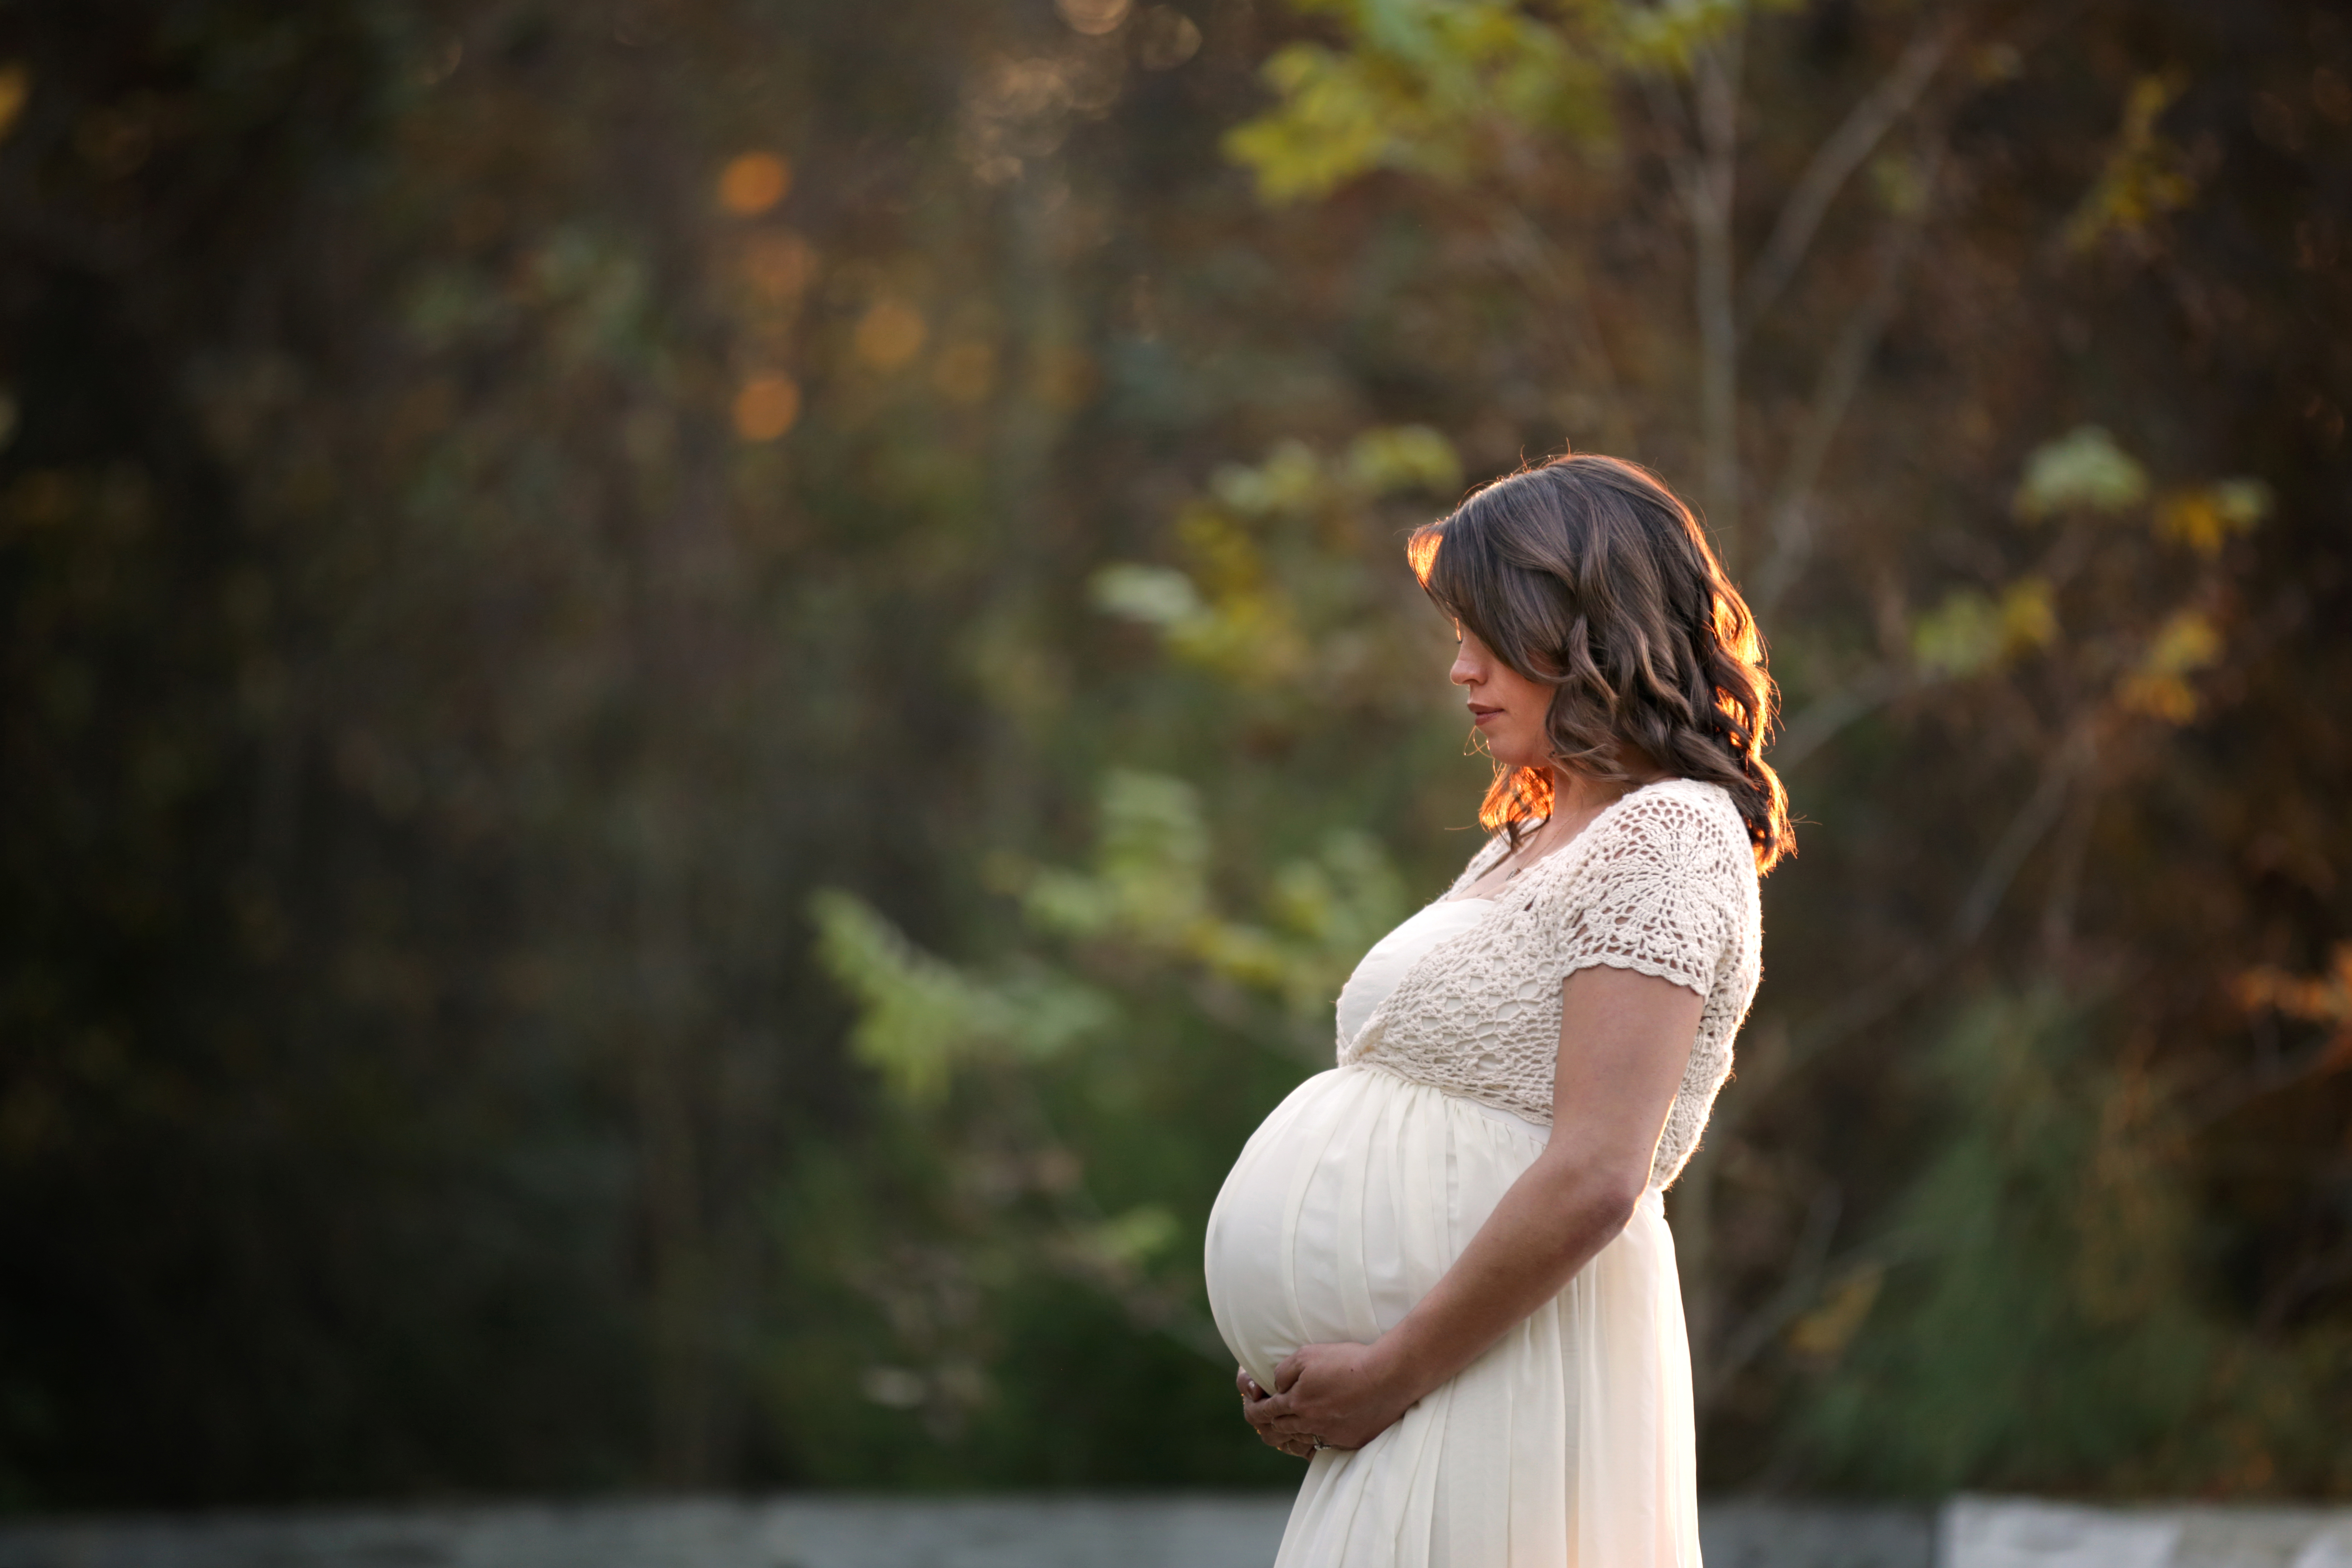
Beautiful soft light is usually found after sunrise and right before sunset. This is also known as the golden hour. Many photographers love the soft light that is found during these times of the day. It provides such a beautiful light that can create both contrasting colors and also natural haze if that is the look you are going for. This can also create dramatic rim light. When the subject is beautifully lit from behind causing a soft light to wrap around your subject.
White Balance
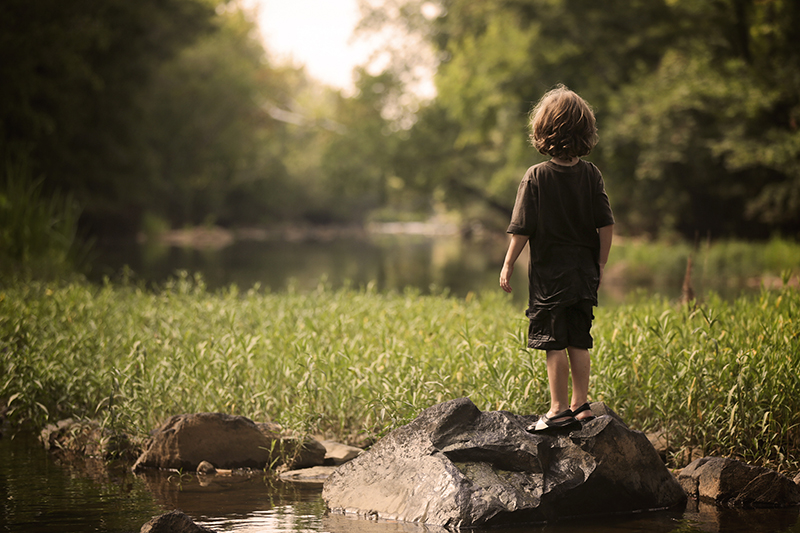
This is how the camera reads the light and the light temperature. White balance can result in a photo looking cool (blue) or warm (yellow) the trick is getting it right. Every single light scenario has a different light temperature which is measured by numbers. Manually using what we call “Kelvin” is a form of white balance that allows you to control how warm or cool your image looks. In the image above I had to change the white balance. The water and grass were reflecting on the log he was standing on causing him to appear green. I had to change his skin tone back to look realistic.
Shutter Speed
Shutter speed is so important to make sure your pictures are not blurry. A shutter speed of 1/100 is slow, usually too slow to handhold a camera. The shutter speed is safe around 1/250 for normal moving subjects. Your shutter would have to be much higher for fast moving objects up to 1/1000 even. Example, if you wanted to photograph a waterfall with freezing the water as it falls you would shoot at 1/1000. If you wanted to shoot that same waterfall and have the water looking like it’s not moving fast, you would use a tripod and have the shutter speed at 1/60. It will give the look of water moving almost.
Aperture

Aperture determines how much of your image is in focus. We call this the f. stop. Let’s say at f.2 you are shooting wide open and your subject will have all the glory and the background. The foreground will be out of focus, also known as bokeh. If you shoot at f.22 then most of your image will be in focus. You won’t see much difference in the background and foreground. This can be very confusing. It does take a lot of practice to learn. In the above image, you can see that the two little boys hugging clearly stand out. The background is very blurred. This is due to shooting at an aperture of f2.8 allowing the subject to stand out from the background. Had I shot this at f11 most likely all the image would be in focus.
ISO
ISO – stands for International Organization of Standardization (ha, complicated huh)!! Let’s break it down a little. It is all to do with light and grain. For a beautiful and clear image, then you would hope to shoot with a low ISO of 100. The higher the ISO becomes then the more grainy your image will look. So if you are shooting and it’s getting dark out. Let’s say you are already shooting wide open (f2.8) allowing all the light possible into your camera. You are also shooting at 1/160 aperture, keeping it on the safe side for not having a blurry subject. The only thing left is ISO. You can raise your ISO depending on which camera you have up to 25,000. Now at 25,000, you are going to have a grainy image. Yet sometimes a grainy image is better than no image at all.
As you can see, there are many things to take into consideration when you are taking pictures. Many camera settings you should know how to use. These settings are known as the light triangle. The ISO, f. stop and shutter speed. Together they can be altered and changed to get some great variations for pictures. There are some great resources for learning about photography and light. . Your camera manual will always be number one. Read it at least 3 times. And then once more. A couple of other books :
Understanding Exposure – Brian Peterson
Photography books, 1, 2, 3 – Scott Kelby